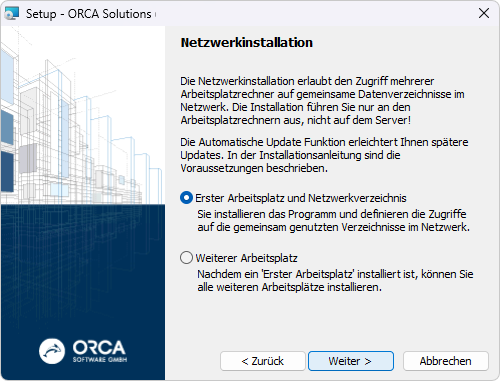
First workstation and network directory

![]()
- Perform the installation on a workstation (= client) on which you will work later - NOT on the server PC!
- The user who performs this initial installation for becomes the authorized user for subsequent Software updates within the version.
![]()
![]()
You can use the selection button to choose other, existing directories or enter the desired path in the input field instead of the suggested directory.
- Execute- from the workstation! - the setup.exe file in the installation directory on the server - see Preparing the network installation.
- Follow the wizard. In dialog , select:

- In dialog , select :
- In dialog , select the directory where the installation will take place.
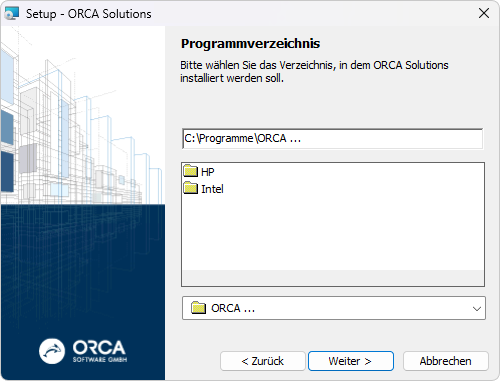
A default directory is suggested.

If there is no mapped network drive, a warning is displayed, however, you can continue installation as long as you are able to use UNC paths for the network destinations in the following steps.
- In dialog , a storage location is proposed, depending on the operating system.
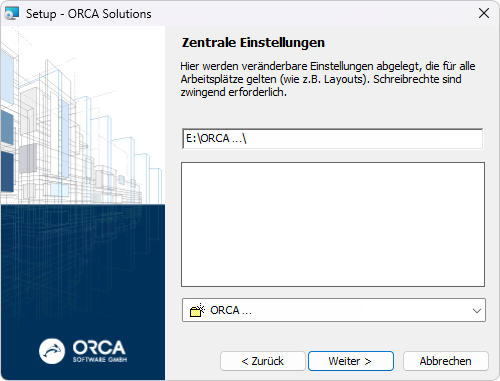
A default directory is suggested.
- In dialog , a storage location is proposed, depending on the operating system.
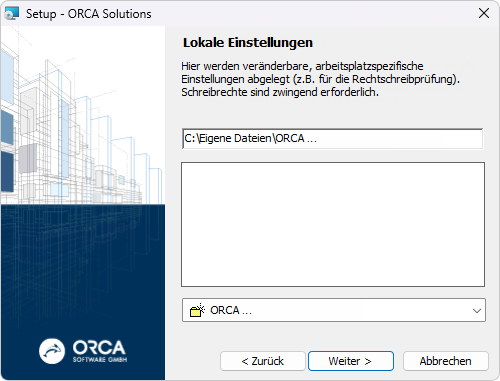
A default directory is suggested.
- In dialog , a storage location is proposed, depending on the operating system.

A subdirectory of your selected location for the (step 5) is suggested as the storage location.
If you have selected E:_ORCA, for example, the paths for the up to four subdirectories are automatically created in the following way:
E:\ORCA\User Data\Libraries
E:\ORCA\User Data\Samples
E:\ORCA\User Data\Projects
E:\ORCA\User Data\System templates
From within the installed application, you can easily access these directories in the using the menu.. also contain some files, which are linked to files in directory (step 5), e.g. for print outputs.
- In dialog , you choose the storage location for libraries which are e.g. in the format StLB or DATANORM. The supplied sample texts of the StLB are also stored in this directory (in German).
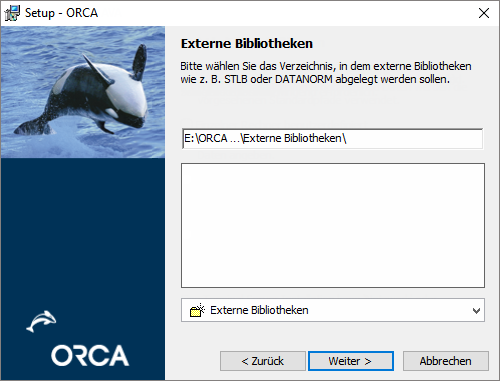
A subdirectory of your selected location (step 5) is suggested as the storage location.
- In dialog , you can select

Without these options, you can start the application via the File Explorer running file ORCA.Manager.exe from within the Program Directory. Of course, you can create the desktop link later by yourself.
- In dialog , you can use to check (and change) your settings once again.
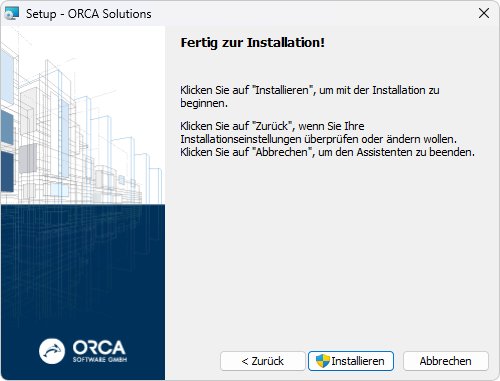
Select the
 button to install the program files on your computer.
 - At the end of the setup routine, it is proposed to directly launch the application. There you follow the instructions for Licensing to complete the installation process.

You can only install additional workstations or mobile computers (also updates), if the program start and the licensing at are completed!
The installation of the is now completed!
